Top | Jeans (love this denim brand) | Necklace (use GLAM10 for 10% off)
I’ve been wanting to share this new makeup tutorial with you for the last few weeks and finally got around to filming it! I don’t know what it is about 2021, but I have been on a MAKEUP KICK. Not only buying new products to play around with but I’ve also been branching out and following some pros on Instagram to learn some new tricks and freshen my look! I’ve been loving @makeupxka and @megan.lombardi — they both are all about skin PREP and intentional product placement… aka NOT just layering on a bunch of products all over so you feel cakey. Actually being intentional with what products you put on, when you put them on (order is important!!!) and WHERE you add them. I feel like I’ve taken a crash course and of course wanted to share with you!
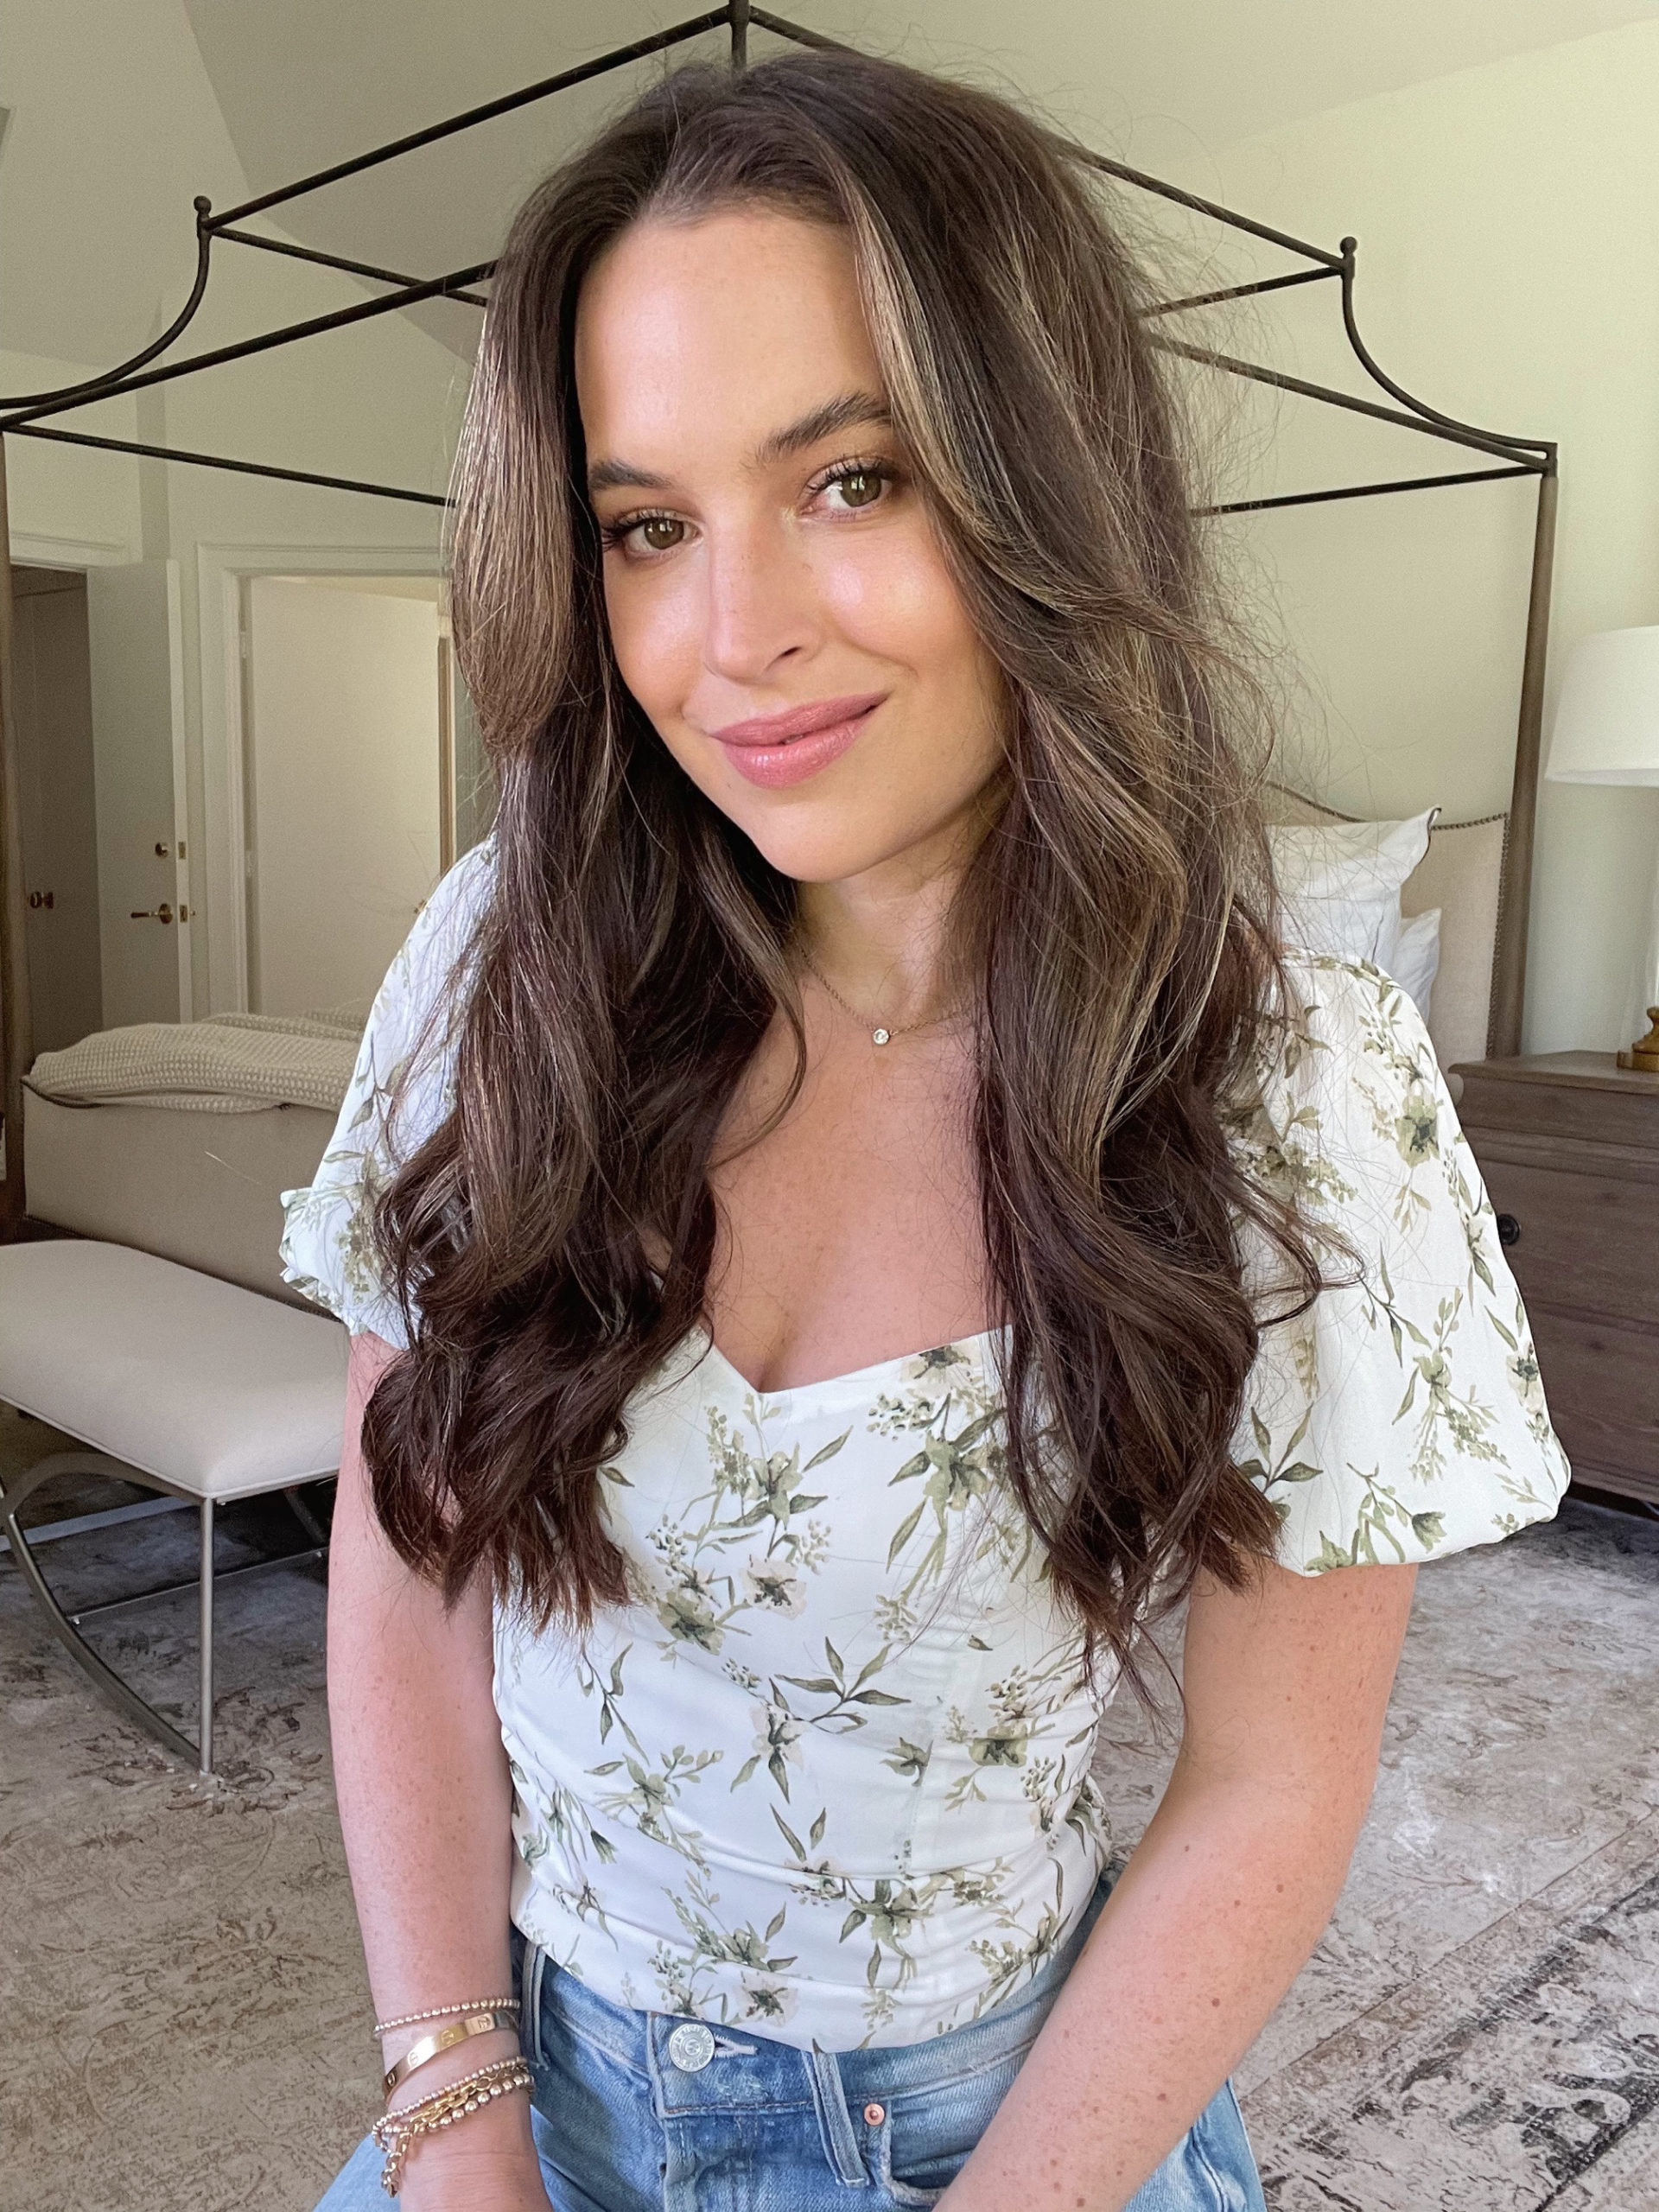
Here’a fun summer bronzy, glowy makeup look that you can wear for a date night out, an upcoming wedding or event, or if you just want to feel GLAM!
STEP-BY-STEP
- First up, skin prep is SO important. You want to make sure both your face and under eyes are hydrated! That’s a secret to glowy, dewy skin! I love using Charlotte Tilbury’s Magic Cream on my face when applying event makeup — it’s super hydrating and helps plump out the skin, plus, it plays so friendly with makeup! I’m also doing the same with my under eyes and applying this hydrating, brightening cream from Ole Henricksen. It also helps target fine lines and wrinkles, the perfect step before concealer as it will help keep it in place and from creasing.
- Then we want to prime the face! I’m going to use two different primers but will start off with this Elemis Superfood Glow Primer — it’s packed with kombucha and ginger to hydrate and brighten the skin while enhancing the skin’s natural luminosity. I then follow up with a mattifying primer and add to places on my face where I tend to get shiny throughout the day. This primer from the Recharge line from Rodan + Fields helps blur pores and imperfections, plus it contains SPF 30. I focus this around the T zone.
- Before adding foundation, I’m going to start off with this Charlotte Tilbury Flawless Filter in Shade 3– it’s a like a real life filter for your face! It adds a little bit of bronzy color while giving skin a very natural looking youthful appearance. Apply using the build-in brush and then gently blend out with your fingers and a damp beauty blender.
- I’m such a fan of this Ilia Skin Tint (I’m shade 7 Diaz) — this is new to my makeup routine this year and it’s probably my favorite face product at the moment! It’s a clean tinted serum with hyaluronic acid that provides light, dewy coverage — if you’re someone who hates the feel of foundation but want a product to even out your complexion, this is the one! This also has mineral SPF40! I’m using my favorite makeup brush — the Artis Oval 8 — to help apply this tinted serum and blend it all in, these brushes are worth every penny, but you could also use your damp beauty blender!
- For undereye concealer, you all know I love Tarte Shape Tape — but I’m actually using the new creamy formula in shade Light Sand, which is a little lighter in coverage and it doesn’t crease as easily! I use the build in wand to dot in the corner of my eye and to sweep upwards on the outer part of my eye. Then using that damp beauty blender, pointed side up, I start at the inner corner and blend the product out. I’ll also bring the remaining product down my nose to slightly shape the bridge and take any remaining product and pat over my eyelid to act as a base for eyeshadow. To set my undereye concealer, I’m using my OG favorite Laura Mercier Loose Setting Powder along with my trusty beauty blender. I’ll dip the blender right into the powder and follow the same motions as I did with the concealer to help set everything in place. I’ll take whatever remaining product and lightly tap onto the rest of my face to set the foundation and face makeup.
- For a natural looking contour, I’m using a cream bronzer from Tarte’s Sea Line and pressing the product on my cheekbone up into my forehead for a defined look. It helps to use a compact/dome shaped brush like this one to really have control over where you apply the product!
- To add a little color to the face, I’m going to use my go-to powder bronzer, Charlotte Tilbury Airbrush Bronzer and apply to all of the areas the sun would naturally hit my face: along my cheekbones, the top of my forehead, and my chin, and will blend the product in with a big, fluffy brush!
- I also love starting off any eye look by applying bronzer to my eyelids, it’s a trick I’ve been doing for years and really helps to give them definition before applying any eyeshadow! Using a small eyeshadow brush and circular motions, I’ll blend the bronzer into the crease of my eye and sweep any remaining product to the outer corner of my eye for a gentle lifting effect. I’ll also take the bronzer into the upper inner corner of my eye and blend downwards on the side of my nose for subtle contour. I’ll also sweep the bronzer under the tip of my nose for definition and repeat on the other side of my face.
- For blush, I love this Patrick Ta Cream/Powder Blush combo in She’s That Girl, but I’m using the bigger end of the damp beauty blend to tap the cream blush on to the apples of my cheek for a natural looking sunkissed glow!
- You all know my obsession with cream eyeshadow so I’m using two of my favorite Charlotte Tilbury Eyes to Mesmerize shades in Amber Gold and Champagne. First I’ll apply Amber Gold to my entire crease with a small eyeshadow brush. I’ll take any remaining product leftover on the brush and drag onto the outer lower lash line to help balance the look. I’ll then take the lighter shade of Champagne and tap onto the center of my eyelid for an eye opening effect. This really makes the eyes pop and instantly makes them look more awake!
- My favorite highlighter is from Iconic London (shade original) — a little goes a very long way so I dot it onto my upper cheekbones and blend using my fingers! I’ll also take a small eyeshadow brush and dot the highlighter onto the inner corners of my eyes and will blend the product gently with my finger.
- My NEW favorite brow product has lived up to the hype — this Patrick Ta Tinted Shaping Wax is an all-in-one brow product. You first need to activate the product with a setting spray so spray directly on the wax and blend a disposable spoolie into the product and start pushing those brows up into shape! It maximizes the shape of your natural brows and gives a pushed up, laminated look while still keeping your brows nice and fluffy looking.
- To line the eyes, I’m using the darkest shadow from the Tarte Toasted Palette and doting it across my lash line, sweeping outwards at the outer corner for a subtle winged effect. I’ll then take any remaining product onto my lower lashline.
- Two coats of my go-to event mascara, It Cosmetics Superhero Mascara gets the job done and gives plenty of length and volume.
- To tie the look together, I love ending with a finishing powder and I’m loving the Hourglass Ambient Palette at the moment. I sweep a fluffy brush along all 3 shades and blend over my entire face. This really helps to blend in any harsh lines while giving a really nice glow.
- For a summer lip, I’m going to start off by lining my lips with this LAWLESS Lip Liner in Pink Sand, followed by a swipe of Laura Mericer Velour Matte Lipstick in shade Vibe. I’ll then add a little hydrating lip oil from Ilia in shade Tahiti, the perfect summer shade!
- To set my makeup, I love Charlotte Tilbury’s setting spray!
Shop The Post


No Comments