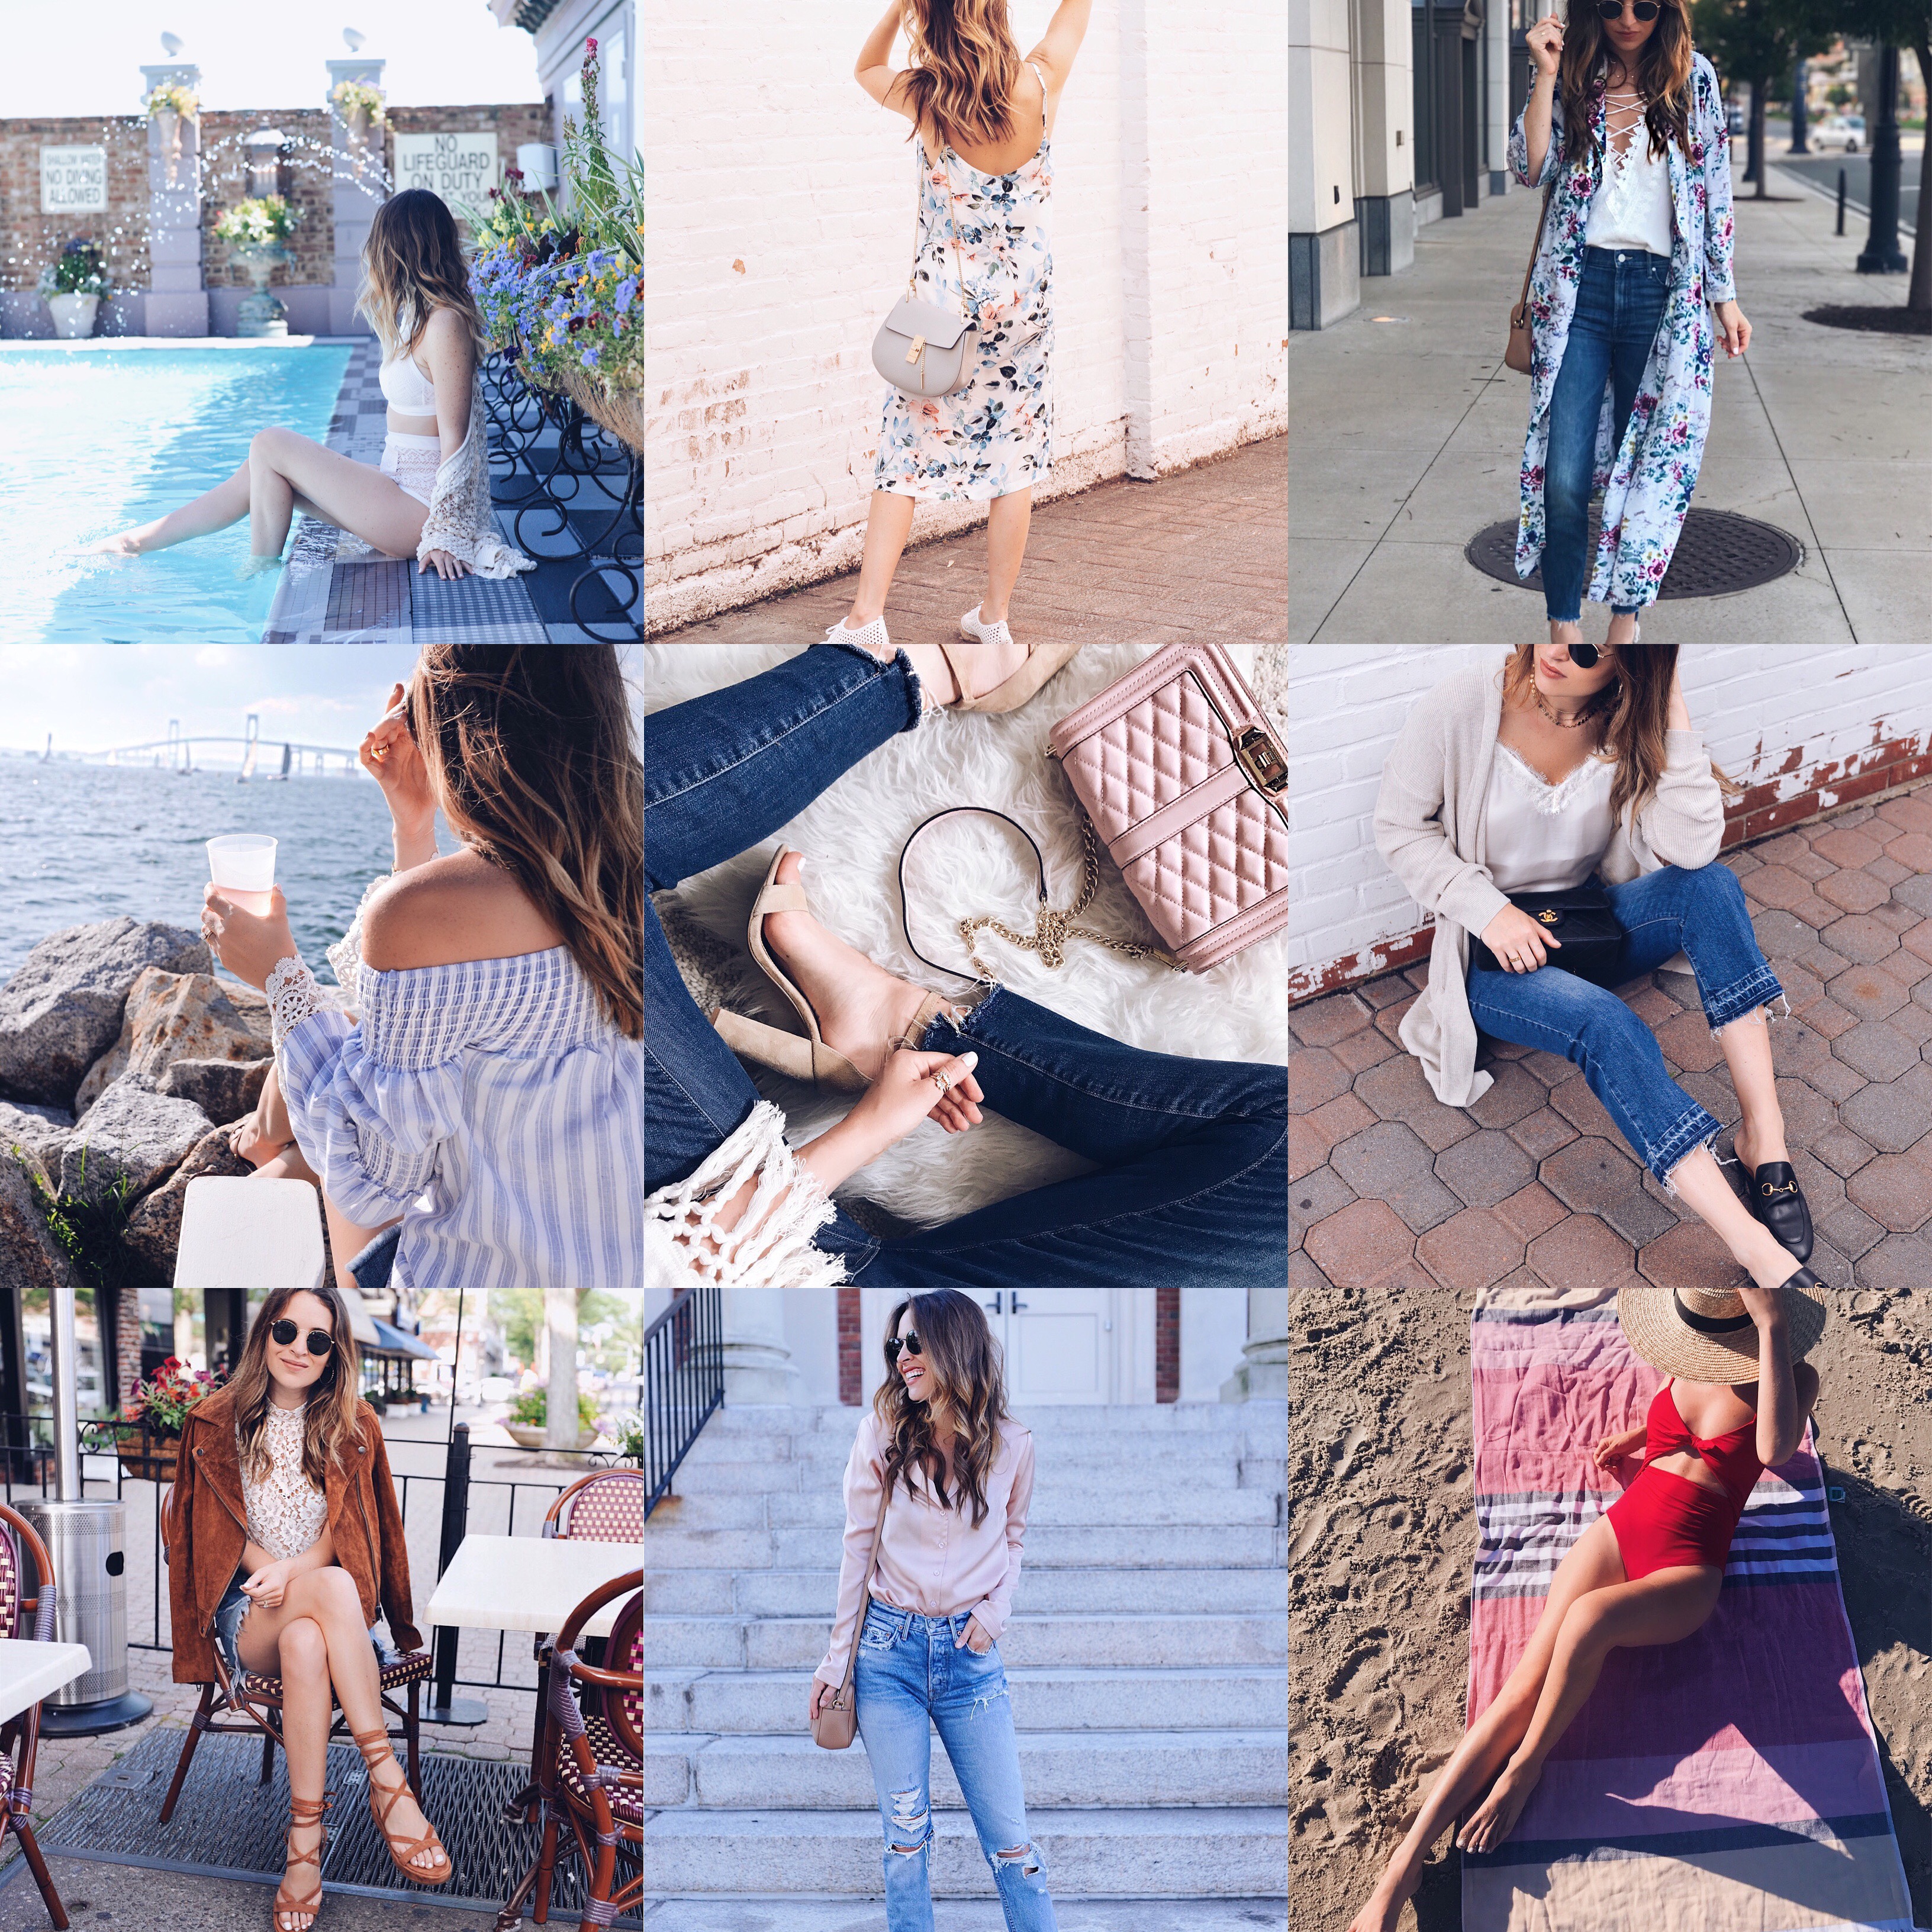
I have to start off this post by thanking you all for the incredible support on my last Blogging Tips post from last week — it was seriously one of my highest viewed posts over the last few months! I guess that means that these tips are useful and I’m happy to continue to share what I’ve learned over the years! Even if you aren’t a blogger, Instagram is a VISUAL platform. There are so many tools now that can take your Instagram game to the next level. I always receive a lot of questions about how I edit my Instagram photos so today, I’m sharing my favorite editing apps to help you achieve the overall look and feel of my feed!
FAVORITE INSTAGRAM EDITING APPS
VSCO
VSCO is an amazing editing app I’ve used for years (although, I switched my filter choice back in May of this year). I always start editing any photo here. After importing the photo I took with either my camera or phone, I apply a filter to the image. Right now, I’m loving anything in the A (analog) family — it helps give the photo a contrasted and moody appearance. I then adjust the exposure (can really vary depending on lighting conditions), and then increase the contrast, saturation, and highlights. Something I recently started doing was increasing the WARMTH of my photos. It was really in style to have VERY “cool” photos (“cool” actually meaning: less warm and more of a blue/cool undertone), but after playing around, I decided I like MYSELF more with the warmth turned up a bit. I previously looked like a vampire and tired of it. I also adjust the TINT to be slightly pink (bring the slider more to the right) and adjust the SKIN TONE (bring the slider more to the left). If I take a photo with a camera, I then crop the photo to the 3:4 setting — this way, I KNOW it will fit in Instagram when I go to upload without having to adjust again. I then save the photo and download it to my camera roll.
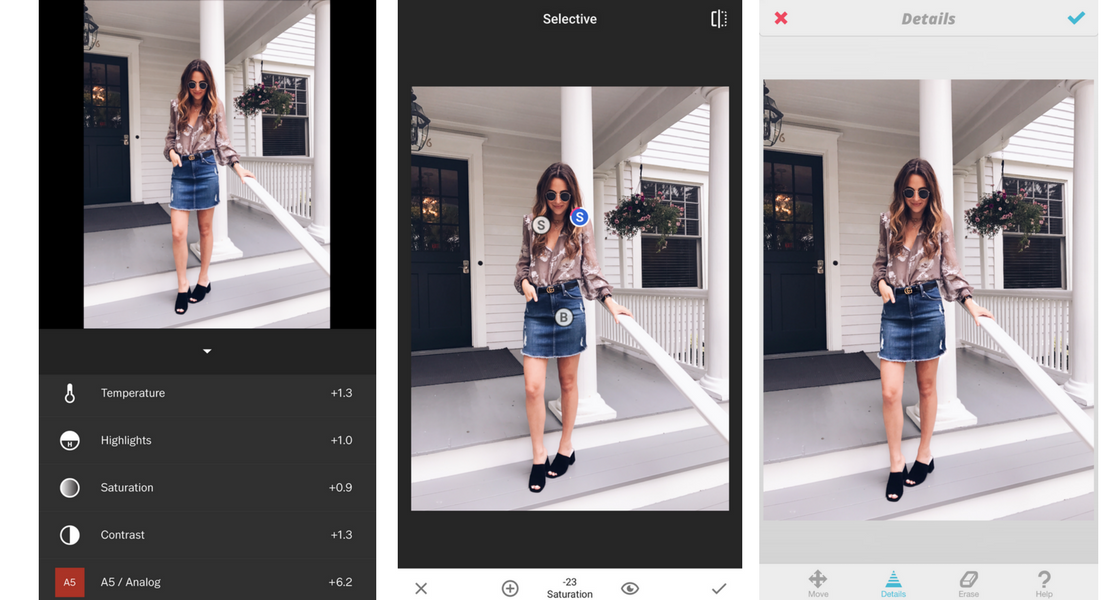
SNAPSEED
Sometimes, adjusting the exposure of an image will end up blowing out other colors. If I increase the exposure to make the photo brighter in VSCO, it might take the color right out of my jeans and make a dark wash look like a light wash. The SNAPSEED “Selective” tool is my best friend. Using the select tool lets you edit a certain part of the photo (selecting by color). This is SUPER important since I’m a style blogger. I’d hate to post a photo of a piece of clothing and make it look completely different than it is on the retailer’s website due to my poor editing. If I add the select tool to my denim skirt below, I can pinch in or out to select part of the skirt or the entire thing (plus any other “blues” in the photo which may have been de-saturated in the exposure adjustment). I can then edit the brightness, saturation and contrast of that part of the image. This also helps for backgrounds (you can lighten a background without lightening yourself). It’s also amazing on my hair. I have very red undertones in my hair and sometimes increasing the warmth or saturation of an image can make me look like a redhead. The change is usually VERY subtle, but it makes a huge difference.
FACETUNE
Yes, we’ve all heard of it… and any blogger that says they don’t use it is lying. Can it be used to remove any imperfection on your face? Sure. But I talk to you guys on Instagram Stories all the time, so you should be able to tell I don’t go CRAZY with this. I actually use this app for the other tools more so than just smoothing out my wrinkles and whitening my teeth. The DETAILS tool is heaven on earth. I’ll use this tool to increase the sharpness on certain parts of the photo to make your eye go there. It might be the fray on my jeans, the logo on a bag or belt, or the print on the blouse (so these details will POP). I also love the SMOOTH tool for ironing out any wrinkles on clothes. I’m a human and sometimes I have to sit in an outfit before I get a chance to shoot it and there will be inevitable wrinkles on it. I’ll use the SMOOTH tool to smooth out the fabric so those wrinkles aren’t as noticeable to you (and so I don’t look like a slob kabob). I also love the WHITENING tool to lightly whiten the background and remove any color or shadows from a wall behind me. Lastly, the PATCH tool lets you clone part of an image and duplicate it. Sometimes, I’ll encounter a random cigarette butt on the street and can clone part of the ground around it to remove it, or a stain on my shirt. I removed a few spots on the porch below to show you!
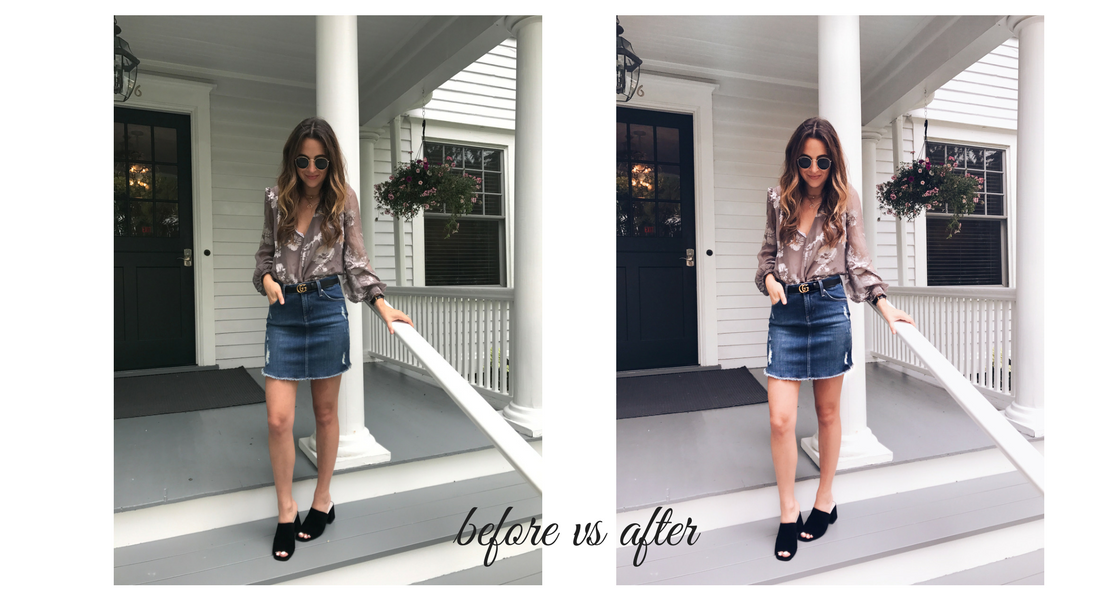
Printed Blouse | Denim Mini | similar Black Mules | Gucci Belt (similar style under $20)
Was that helpful?! I’m hoping to put together a video of how I edit a few different photos using this step-by-step routine for you in case you are a visual learner like myself! I hope this can at least get you started and inspire you! Let me know if you have any questions and please, share your favorite editing apps or tricks if you use anything I haven’t shared!

3 Comments
Carey
August 24, 2017 at 9:00 amThanks for all of your tips! I never even thought of using the smooth tool to erase wrinkles on clothes, but that’s brilliant!
xo, Carey
https://thedaintydetails.wordpress.com
Mamaste_k
August 29, 2017 at 10:32 pmThis was So helpful!! I would love if your able to do a video as I’m def a visual learner!! Thanks for sharing 🙌
Olivia
August 29, 2017 at 11:55 pmI also use vsco! I have for about 2 years and it’s the only one I have never been disappointed with!