A huge thanks to Walmart for sponsoring today’s post.

Are magnetic lashes worth the hype? The short answer? YES. BUT, you have to follow these steps in order to perfect the application process. Then, I promise, you will FALL IN LOVE WITH THEM!
I’m so excited to once again be teaming up with Walmart — one of my go-to beauty retailers who makes it SO easy (and FAST) to have a lot of my favorite affordable products shipped right to my door! Walmart carries the entire line of my favorite lash brand — Ardell! I’ve been wearing fake eyelashes since my childhood theater days and teenage dance competitions, and Ardell has always made some of the best lashes in the game, all at an extremely affordable price point. When they launched their magnetic lashes, I immediately jumped at the opportunity to grab a pair and try them out for myself. I applied them with limited knowledge on how they work and just tried to sandwich them together between my bare eyelashes. That resulted in a VERY embarrassing moment I shared with ALL OF YOU last year — one of my faux eyelashes slipped off at a very boujee brand event in NYC I was at with my husband — AND LANDED IN MY CHAMPAGNE GLASS. No, you can’t make this stuff up.
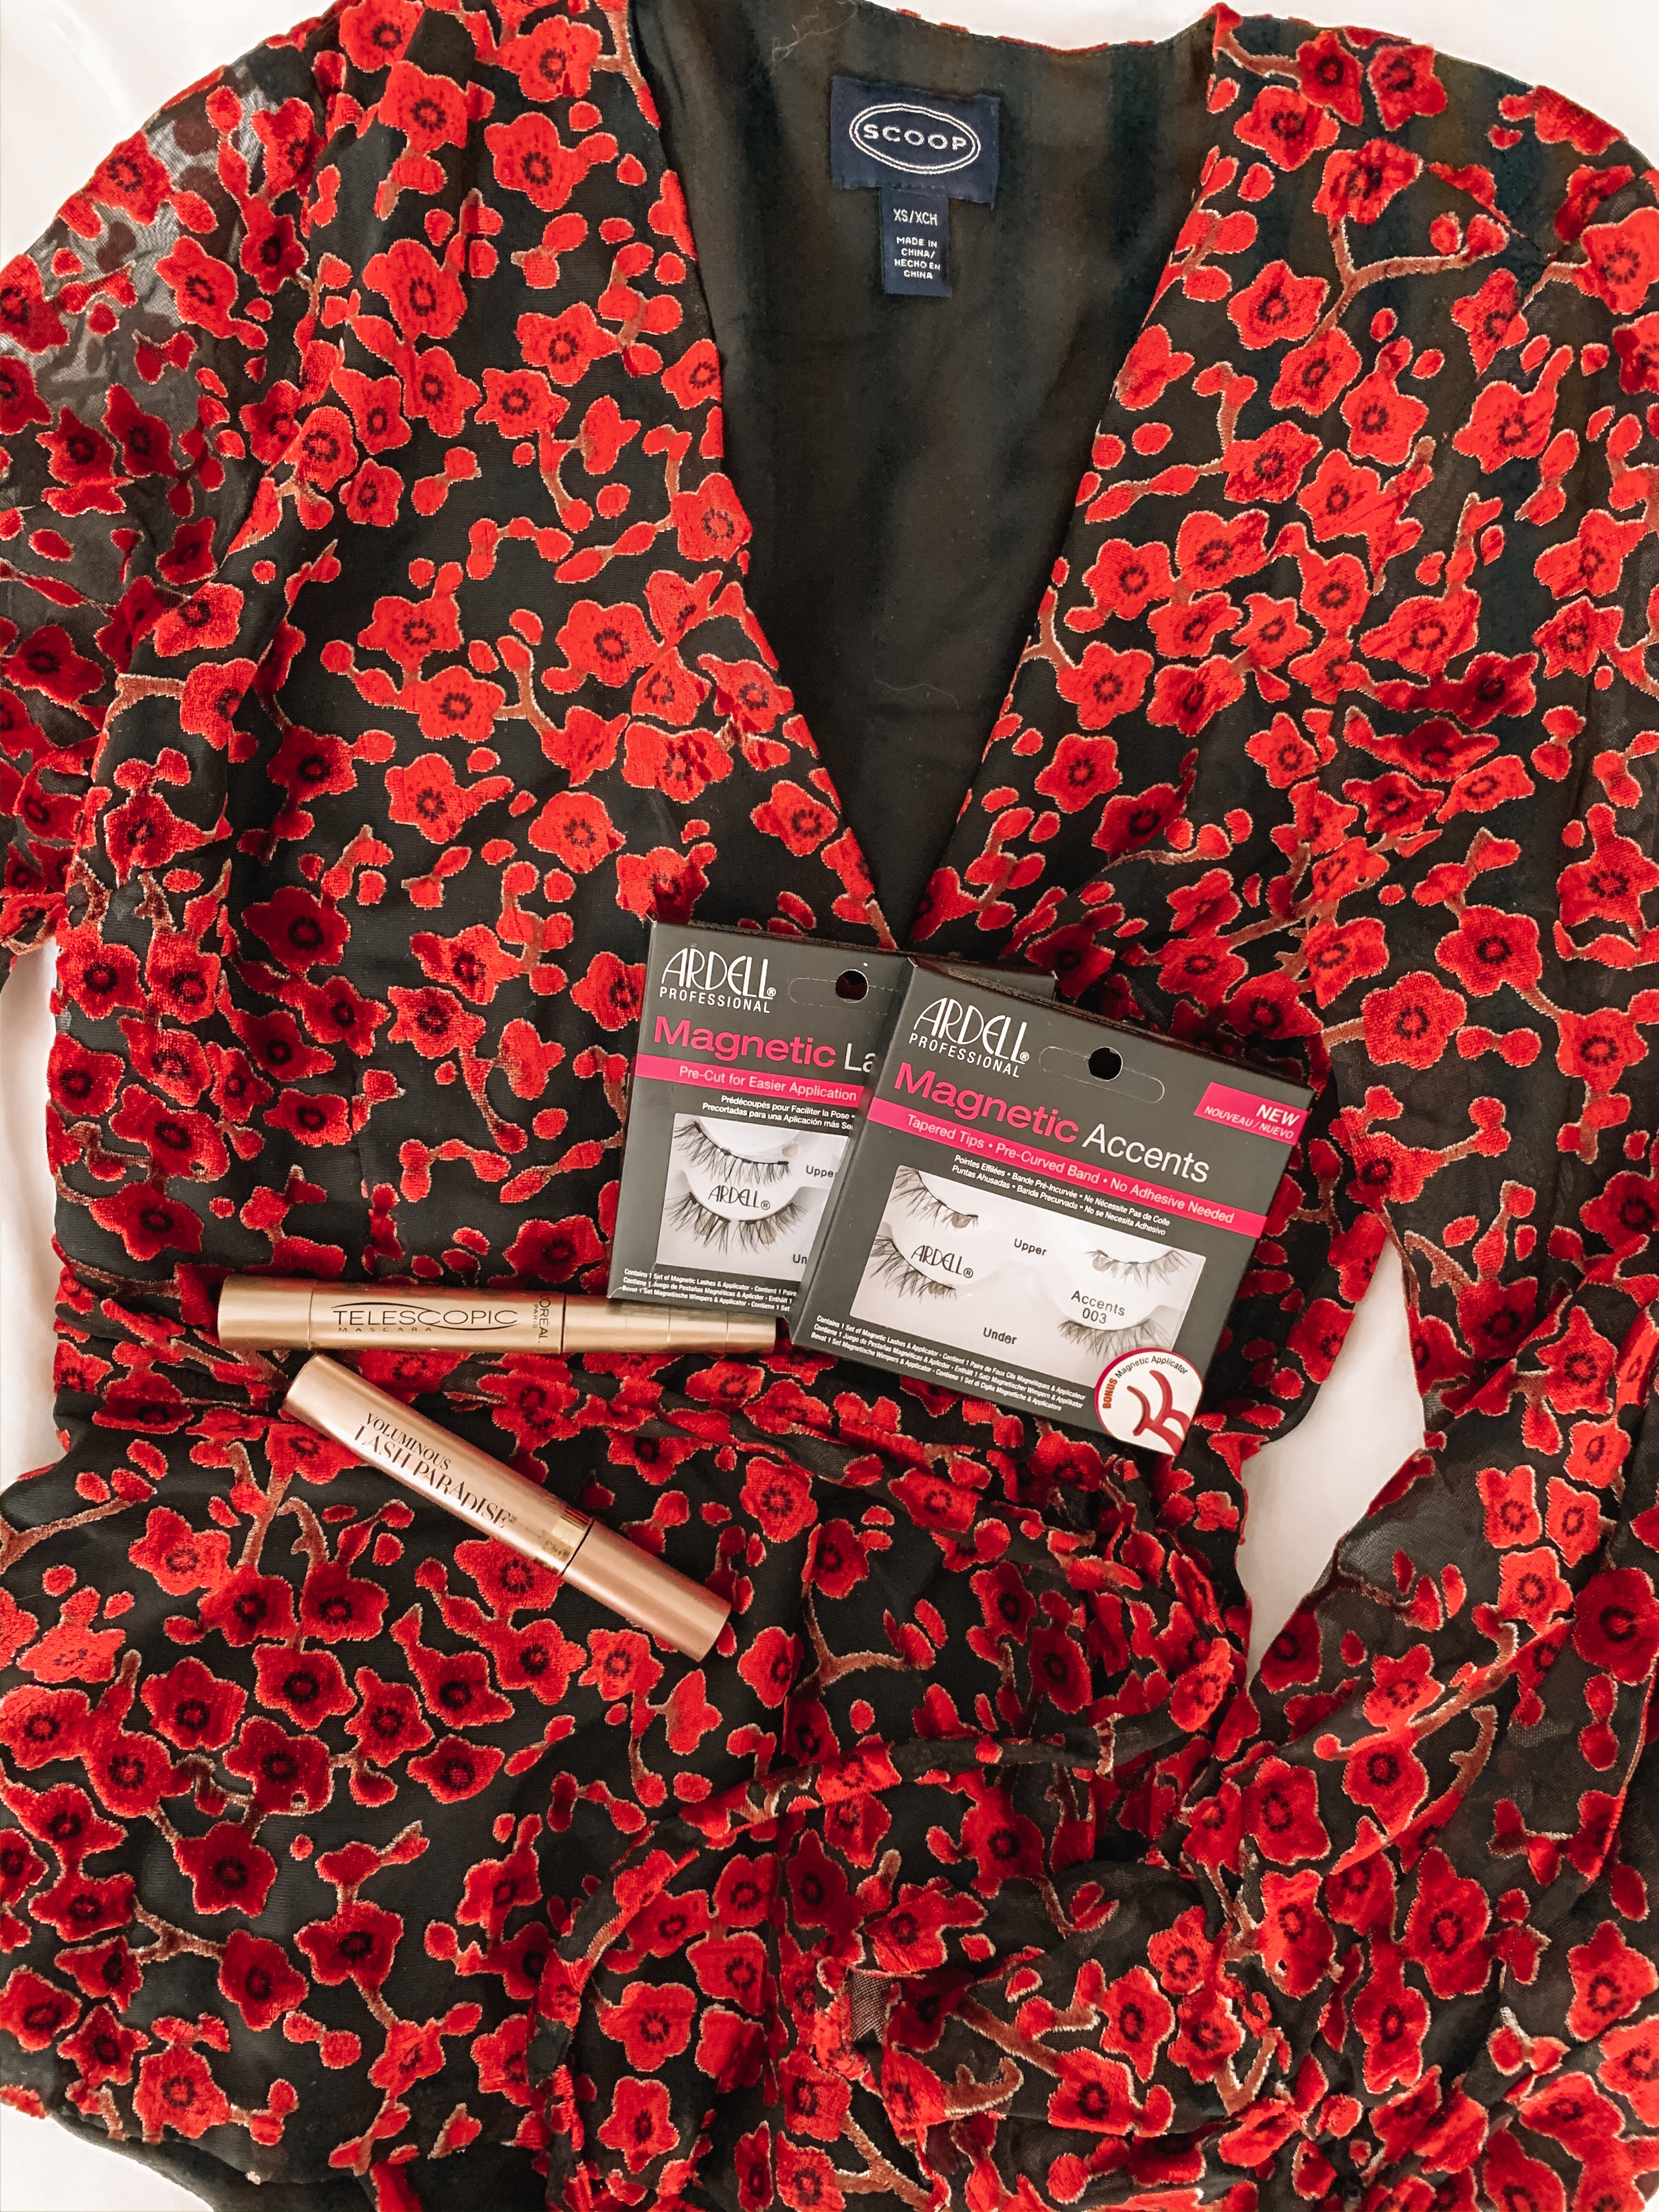
Since then, the magnetic lashes available have improved ten fold. While I love the look of a full lash that goes across the entire eyelid, with the magnetic kind, they can be bulky and heavy (plus, look a tad unnatural). Ardell has since introduced magnetic ACCENTS which are about half the length of the traditional full lash strip and are so much more lightweight. Plus, half the size means they are a breeze to apply! They also created a line of PRE CUT lashes, which allows you to apply them in sections. Again, SO MUCH EASIER to apply. I’m partial to the ACCENTS line since I love my eyelashes to look as natural as possible and hate the feeling of heavy eyelashes, so I tend to stick with those! I’m sharing all about these magnetic babies and sharing my best tips and tricks for how to apply them in seconds!
FIRST OF ALL — WHAT EVEN ARE MAGNETIC LASHES?! AND HOW DO THEY WORK?!
Unlike sticky/messy glue-on lashes, magnetic lashes are comprised of two strips that are layered together on top of one another secured by teeny tiny magnets at the lash line. Your eyelash will actually get sandwiched in between these two lash strips! These are perfect for someone who is allergic to eyelash glue or doesn’t want to deal with the messiness associated with eyelash glue! I personally love them because they take seconds to apply and are literally fool-proof! If you mess up, you can EASILY start over without ruining your eye makeup! Perfect for beginnings who aren’t used to fake eyelashes!
TIPS & TRICKS FOR EASY APPLICATION
- My first MUST-DO trick is to apply mascara to your REAL lashes. This gives the magnetic lashes something to adhere to so they stay put (and don’t slip off a la my story above). It’s also essential when applying the MAGNETIC ACCENTS since those will only go partially across the lash line. You’ll need mascara to make up for the balance of bare lashes. I love layering L’Oreal Paris Telescopic Mascara first (which helps create a lot of length) followed by L’Oreal Paris Voluminous Lash Paradise Mascara (which creates dramatic volume). Really make sure to apply in the inner and outer parts of your lashes (as the magnetic accents will likely be in the middle). Then, wait for your lashes to dry!
- Once your lashes are dry, I use my fingers to apply (instead of the supplied little application tool). To start, you’ll see that Ardell has the lashes separated UPPER and UNDER — the upper lashes go on the actual lash line and the under lashes click into place under your natural lashes. If your ACCENTS lashes are tapered, make sure to use the short side on the inner corners of your eye so that the longer lashes are closer to the outer lashes.
- I start by taking the UPPER lashes and lining them up on my lash line exactly where I want them to be placed. You can move them around the lash line to the desired location until you’re happy with the placement.
- Remaining still (so I don’t have that top lash fall off my eyelid), I take the UNDER lashes and line them up with the UPPER lashes under my natural eyelash. You’ll feel the magnets start to gently pull towards each other and attempt to click into place. Try to do this part as slow as possible and try to keep the lashes as close to your lash line as possible — so they aren’t applied falling off the lashes. The best part about these lashes is that you can do these steps AS MANY TIMES as you need to get it right!
- Once you are happy with the placement of both lash strips, I like to take my thumb and pointer finger and press the lashes together a bit more to ensure they are secured together.
- That’s seriously it! Once you are ready to take them off (or if you need to adjust the placement and start over), you can gently pull the lashes off starting at the outer corner. You’ll just need to separate them with your fingernail and pull the magnets apart to either start over, or to store them. I love the Ardell Magnetic Lashes because the UNDER lashes actually have red magnets, making it SUPER easy to distinguish between the UPPER and UNDER lashes.
- My only other tip is to make sure to save the box and tray the lashes came in for easy storage. Since these can be reused over and over again — I usually pop the lashes back in their dedicated little spots within the tray to make it easy to use the next time!

SHOP THE POST

Make sure to check out some of my other favorite BEAUTY posts and tutorials with Walmart:

No Comments